
How to configure SparkPost to send emails in Icegram Express?
Configure SparkPost email transport in Icegram Express to send high-volume newsletter campaigns.
SparkPost is an email infrastructure provider and one of the biggest global email delivery services, As the world's biggest email sender, SparkPost enables businesses of all sizes to predict and optimize email performance. You can send 500 emails per month in their free plan.
In this guide, we will explain to you how to configure SparkPost to send emails in the Icegram Express plugin.
Create a SparkPost Account
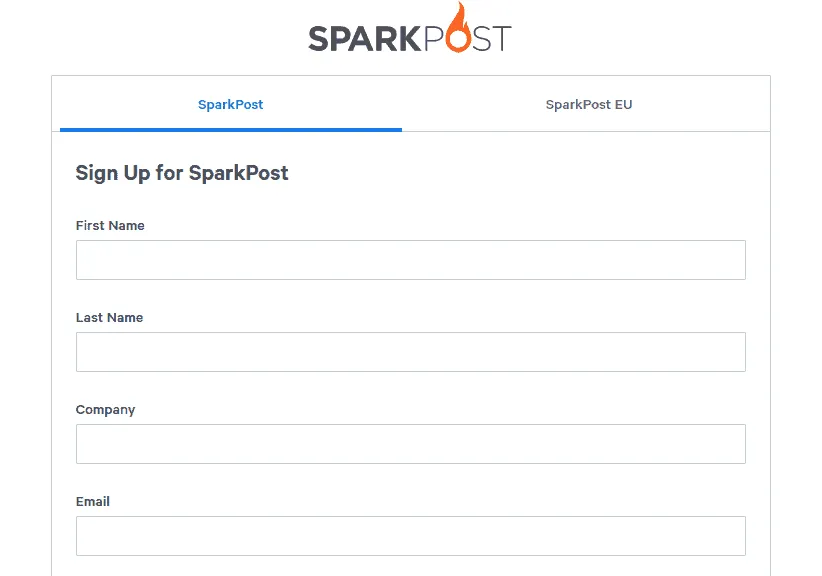
If you don’t already have an account with SparkPost, go ahead and sign up for an account on SparkPost’s website and verify your account.
Add a domain
To create a sending domain in SparkPost, you will need ownership or administrative access to your domain name, for example: example.com. You will also need access to make DNS configuration changes through your domain registrar (or DNS provider) for your sending domain.
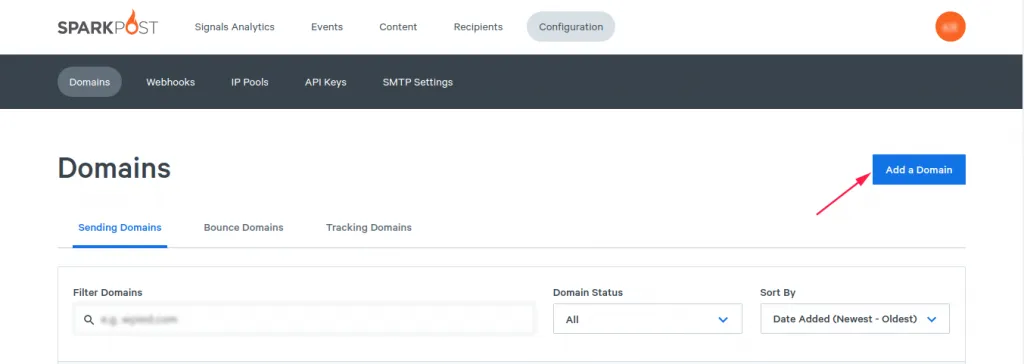
To add your domain, login to your SparkPost account and go to Configuration > Domains. On the Domains list page, click on the Add a Domain button.
Now select the Sending Domain option on the next page as we will be using SparkPost only for email sending.
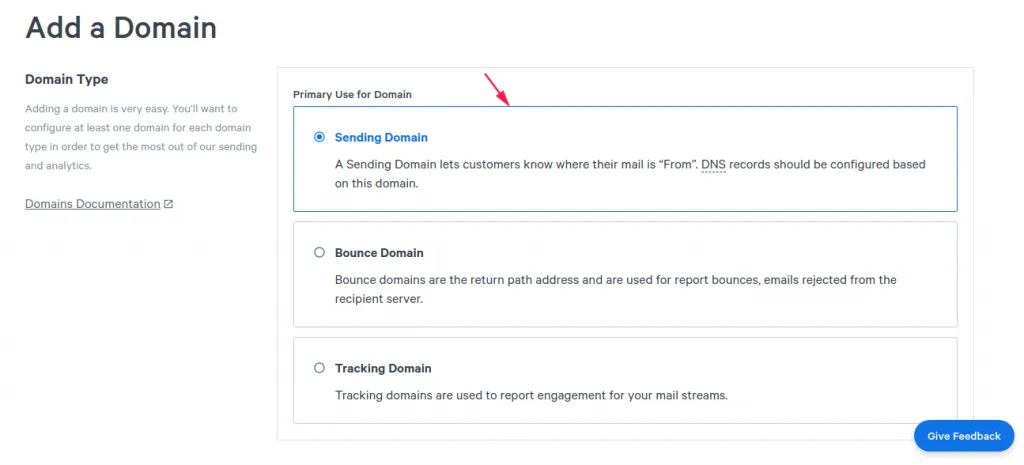
Add a Domain type
In the Subaccount Assignment section, choose an option according to your requirements i.e. if you want subdomain to be associated only with a sub account then choose Assign to Subaccount option. You can learn more about SparkPost account and their types from here
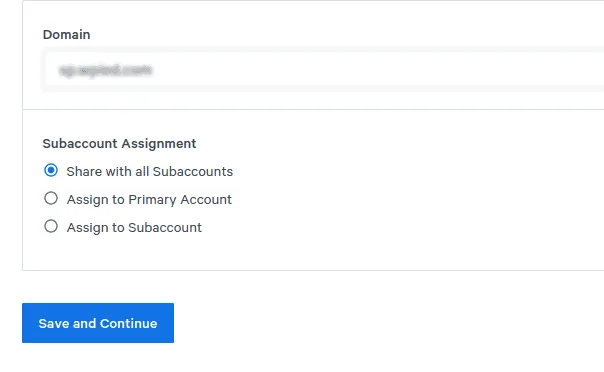
Now click on the Save and Continue button. You will get a confirmation message like below
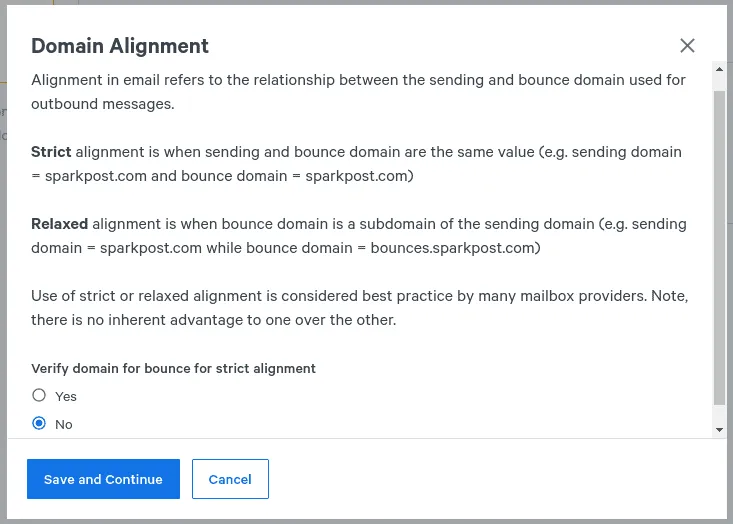
Select the No option as we are not using the subdomain for bounce handling in Icegram Express plugin.
Verify your domain
Before you can send mail using your domain, SparkPost needs to verify that you own it. Adding a DNS record to your domain is the recommended way to complete this verification. In the DNS Verification section you can find the TXT record Hostname and Value you need to add to your domain’s DNS records.
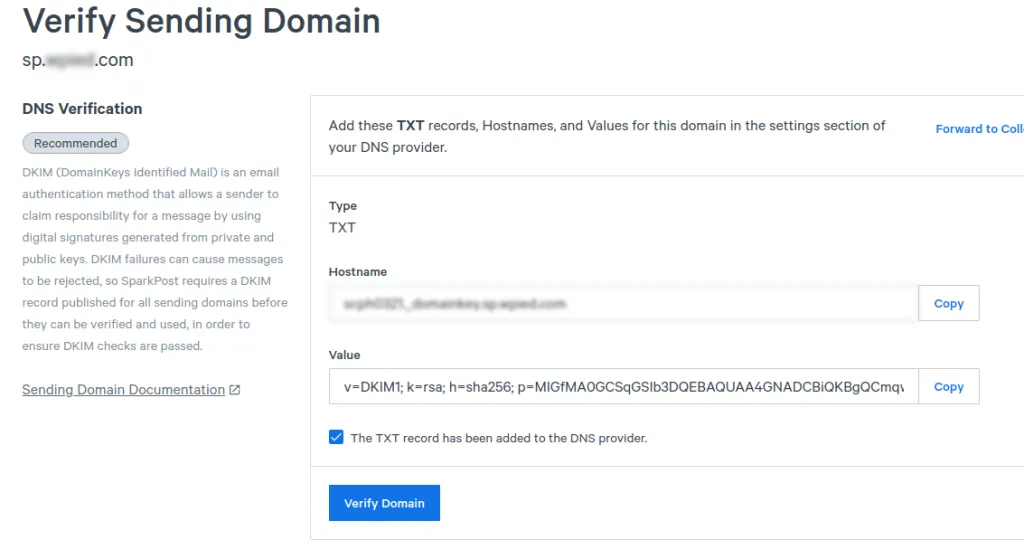
Adding DNS record
After you have added DNS records, check The TXT record has been added to the DNS provider. option and click on the Verify Domain button.
After successful verification, you should see in the DKIM Signing enabled for that domain.
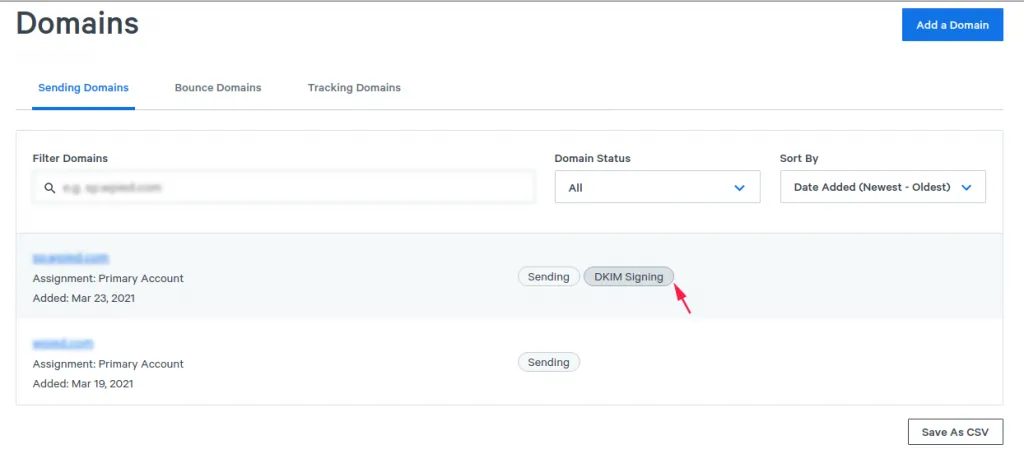
Confirm DKIM label for domain
Unfortunately, some DNS records take longer to update than others, even up to 24 hours. If you want, you can check to see if the DNS value has updated using a service like Whats My DNS. Just be sure to use the correct hostname there, too.
Create a new API key
To create a new API key, go to Configuration > API Keys and click on the Create API Key button.
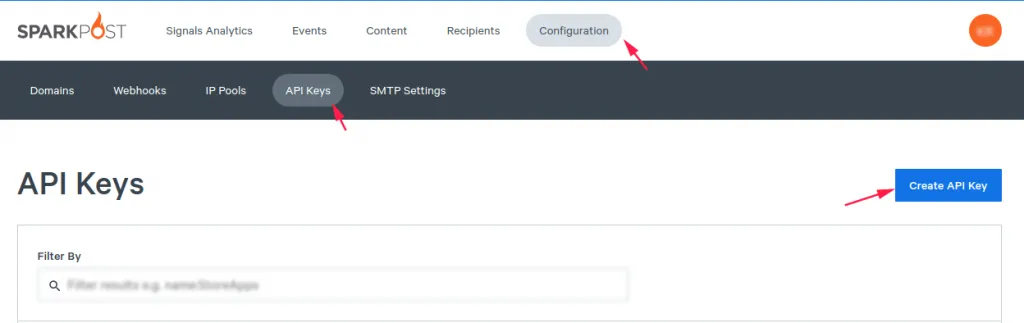
Create new API key
On the Create API key page,
-
Add a name like Icegram Express API Key in the
API Key Namefield to identify it later. -
Add a sub account in the
Subaccountfield if you want the API key to be associated with a sub account. -
In the API Permissions section, choose
Transmissions: Read/Write permissionsas we need only this permission to send emails.
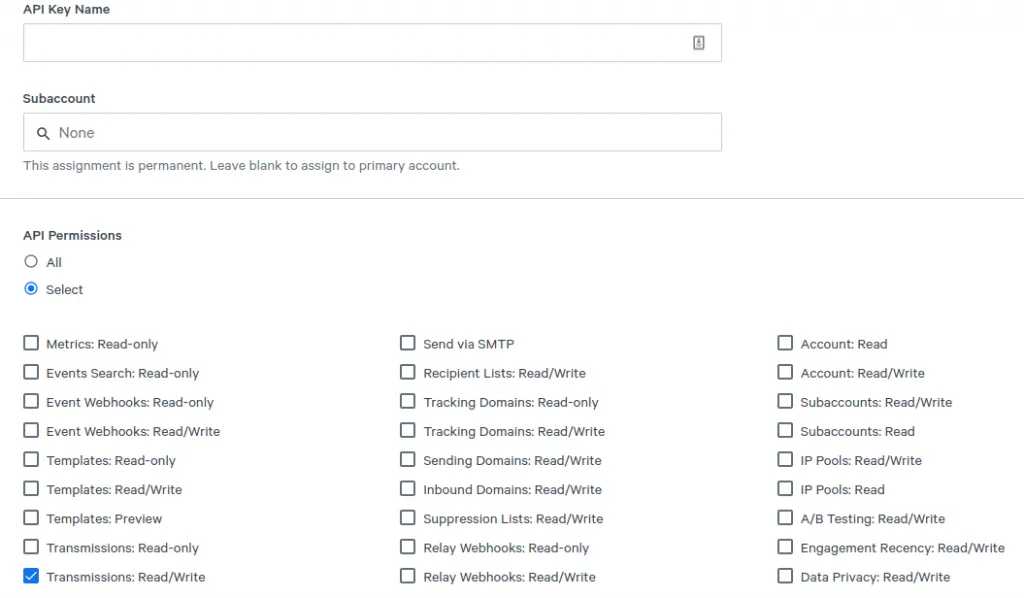
API permissions
- In the
Allowed IPsfield, you can leave it blank if you are not sure from which IP you are sending from. After all details have been added click on theCreate API Keybutton.
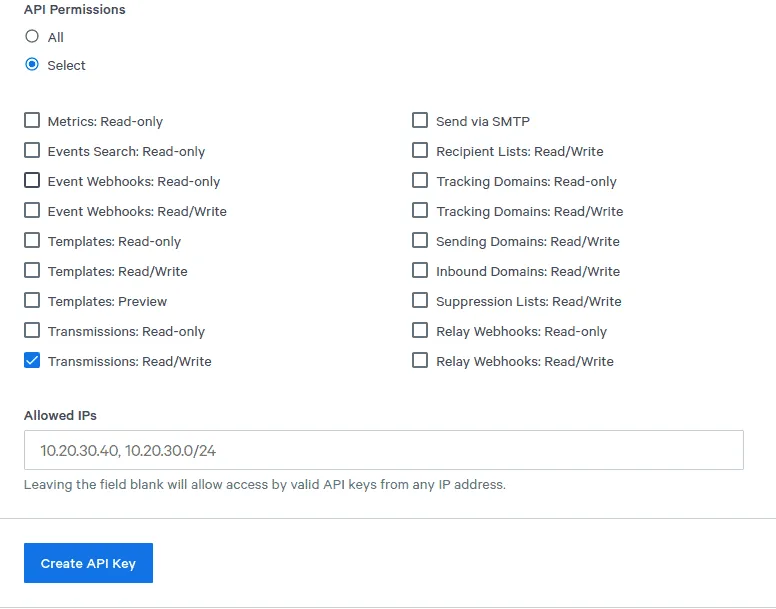
Allowed IPs
- After clicking on the
Create API Keybutton, you should see a success message and your new API key like below. Copy and save the new API key as you won’t be able to see it again later on.
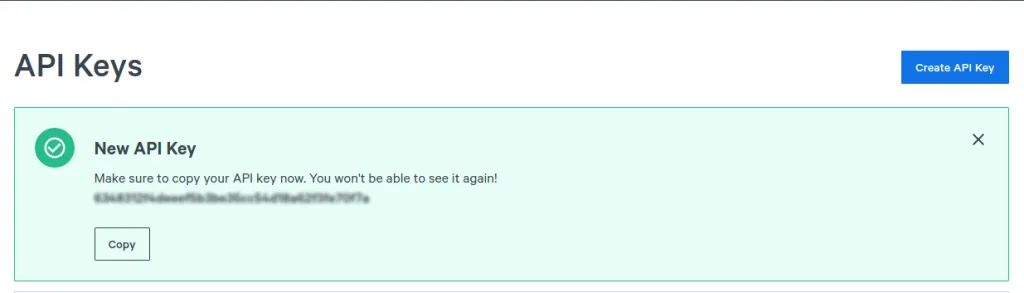
Generated API key
Configuring Icegram Express to Send Emails
Now that you’ve set up your DNS, you can prepare Icegram Express to start using SparkPost for sending emails.
-
Install and activate MAX version of Icegram Express plugin
-
Navigate to
Icegram Express > Settingspage -
At the top of this page, you can set the From Name and From Email. By default, these will be filled with your site’s name and admin email.
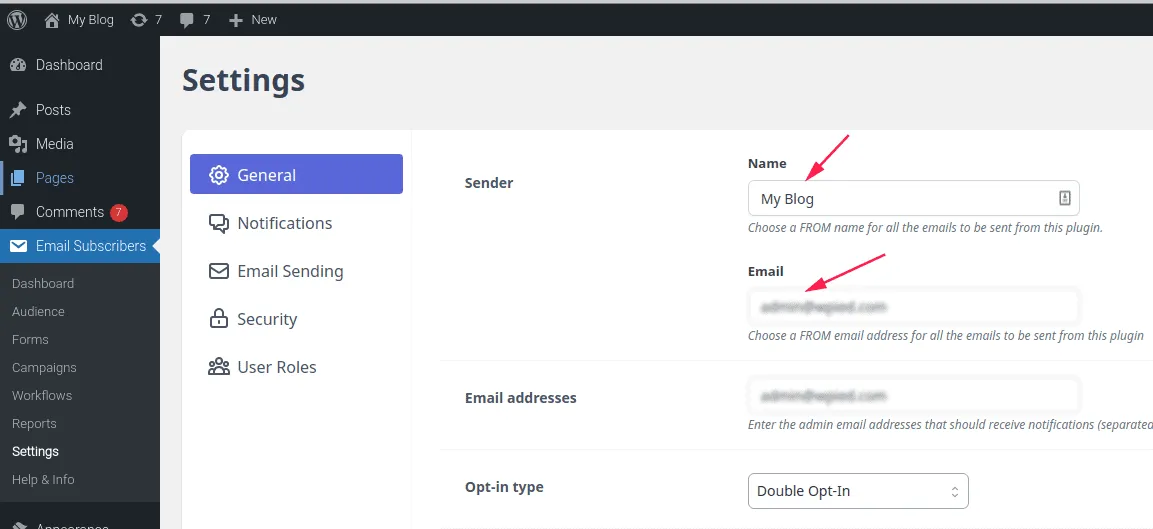
Email Sending Setting - SparkPost Mailer
For the From Email, use an email address associated with your verified domain from Step 3
- Now click on the
Email Sending taband scroll down to the optionSelect a mailer to send mailand click on SparkPost as the mailer.
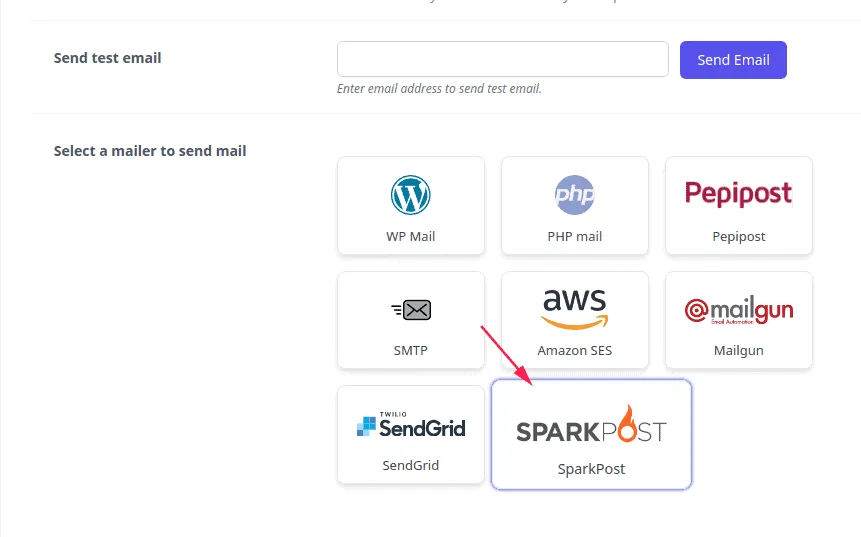
Email Sending Setting - SparkPost Mailer
Now that you’ve selected SparkPost as your mailer, a new section will appear below the Mailers list. Here, you’ll need to enter API and Region information.
Enter the API Key created from Step 4.
Last, you’ll need to check the Region setting. During sign up if you opted for SparkPost account, then you can select the United States option else you can select Europe option if you have opted for SparkPost EU option.
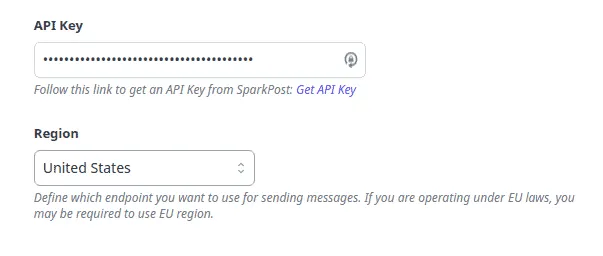
SparkPost API key and Region
- Once this information is added, click on the
Save Settingsbutton at the bottom.
Send a Test Email
Once your domain is verified and your settings have been added to Icegram Express, it’s important to send a test email to ensure that everything is working as expected. You can try sending a test email from the option provided just above Select a mailer section.
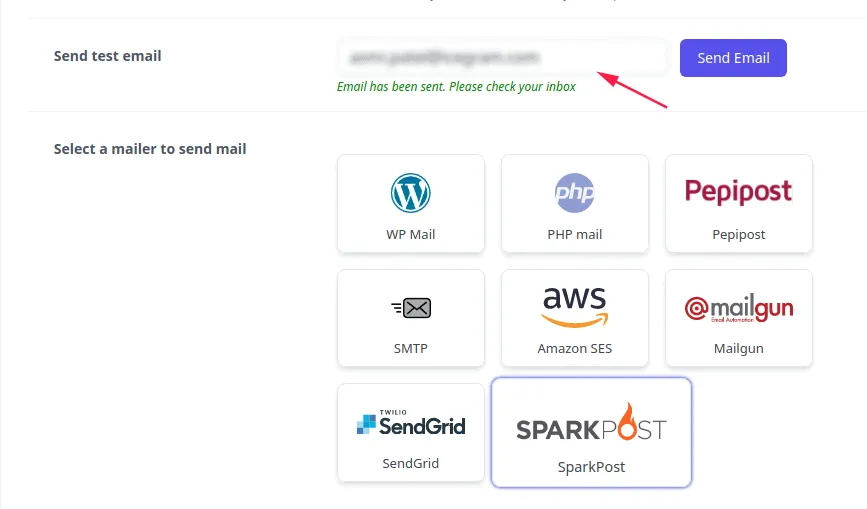
Test Email
You can enter any email address that you have access to and click the Send Email button. After sending the email, you should see a success message.
If you check the inbox for that email address, you should receive the email for this test.
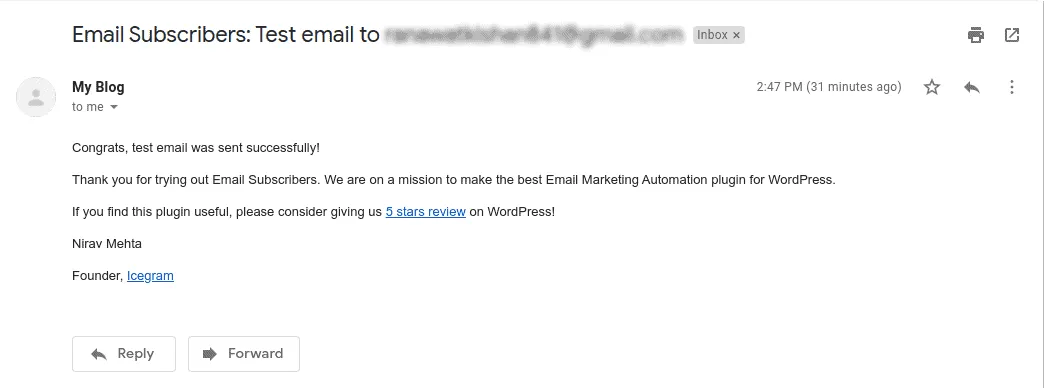
Test Email - Inbox